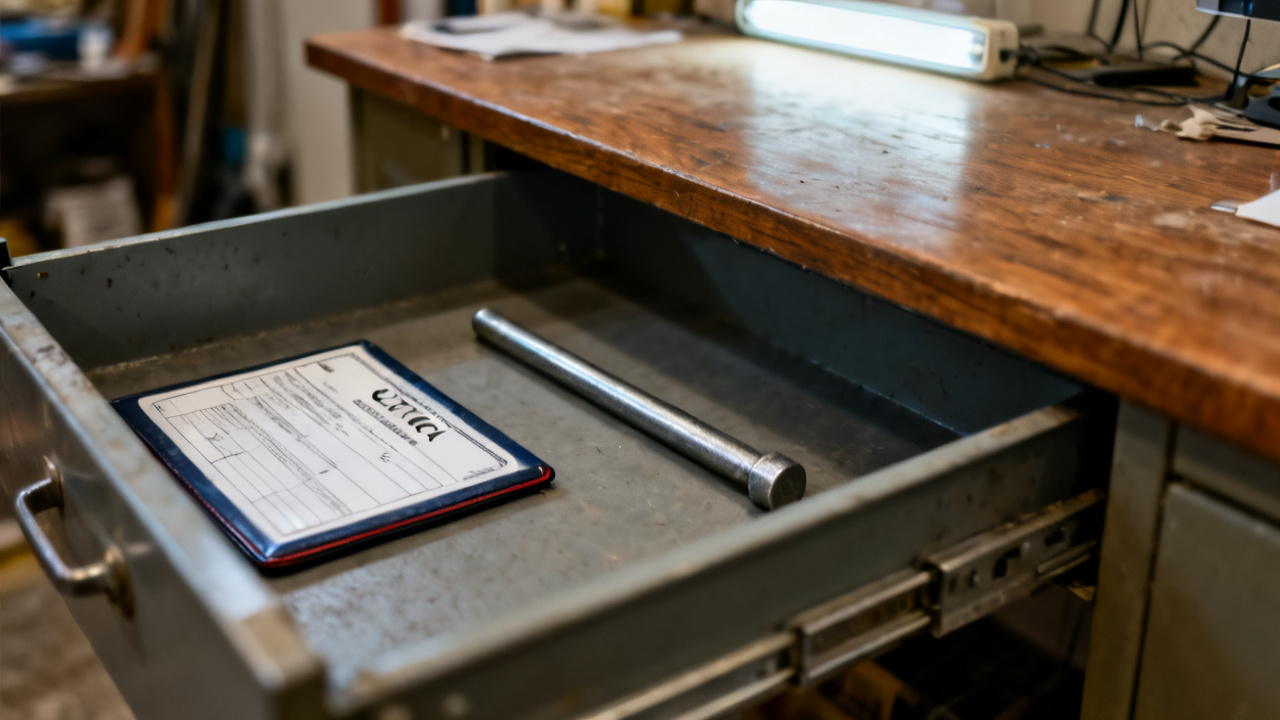
The cert is clipped here. The job name on it is another job. You set down your deburring tool and lean in to match the printed lot number on the cert against the etched lot on the 4130 bar stock sitting at your bench. The edge of the cert still carries the faint smudge of weld spatter from the last tech who handled this batch, so you run a thumb over the print to make sure you didn’t misread the customer ID.
Verified batch details listed on this form
This form carries all official traceability data for the mill batch of material it is linked to, so every entry maps directly to test results run either at the mill before the material shipped, or at your in-house heat treat facility after the batch was delivered. You can scan the fields to find the exact mill run date, tensile strength test results, Rockwell hardness readings, full chemical composition breakdown, the original customer purchase order the batch was first allocated to, the ID of the heat treat furnace used to process the batch post-cut, and the dated signature of the QC tech who signed off on the batch before it was released to the shop floor. All listed test values fall within the published spec range for the alloy printed on the top of the form, so there is no indication that the material itself is out of spec or unsuitable for use, only that it has been accidentally clipped to the wrong job routing. You also note that none of the fields on the cert have been crossed out, erased, or altered with white out, so the mismatch is a simple administrative filing error, not a sign of tampered or falsified test data that would require you to quarantine the entire batch immediately.
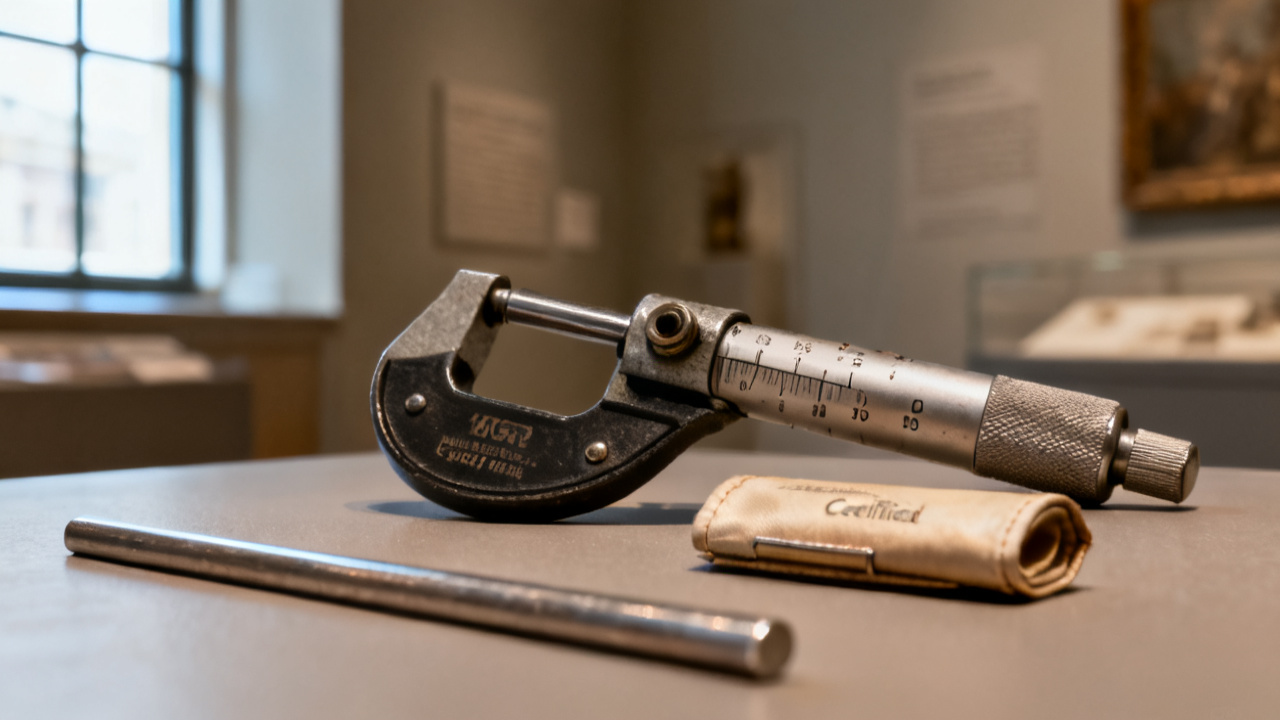
Cross-reference check against your current work order
You run through a standard cross-reference check to confirm the scope of the mismatch, and to rule out the possibility that you pulled the wrong material bar from the stock rack when you started your shift. You follow these steps in order to avoid missing any overlapping details that could simplify the correction process:
- Pull the printed work order for the job you are currently processing from your labeled bench slot, and line up the customer PO field on the top right of the work order next to the customer PO field on the top right of the cert.
- Match the alloy spec and temper listing printed on the first page of your work order to the alloy spec listed on the top left of the cert, and mark any discrepancy with a blue grease pencil directly on the top right corner of the cert to make the error immediately visible to anyone else who handles the form later.
- Locate the stamped lot number etched into the unfinished end of the raw material bar you’re working with, and cross-check that number against the lot number printed directly below the alloy spec on the cert.
- Count the number of finished parts you have already processed from this bar, and log that count in the blank margin on the left side of the cert, right below the heat treat date field, to give the admin team full context for how far the job progressed before the mismatch was caught.
- Check the part drawing revision number listed on your work order against the revision number listed on the short routing slip clipped to the back of the cert, to confirm no recent revision changes altered the material spec requirements for either job linked to the mismatch.
Illustrative example: 78924-AL-2024 is the lot printed on the misaligned cert, while your current job calls for lot 78924-AL-6061, so you circle both lot numbers and draw a thin blue line between them to flag the mismatch clearly for the admin and QC teams. If all fields except the customer job name and PO match, you can flag the error for the admin team to update the cert’s allocation, rather than pulling all processed and unprocessed material to run full re-inspections. If the alloy or lot number does not match the material you’re working with, you set aside any parts you have already processed to run random hardness spot checks before moving forward, to ensure you did not accidentally pull the wrong bar from the shared stock rack earlier in the shift. Even if you confirm the material matches your job’s spec, you still log the mismatch in your shift notes to create a paper trail for both production and customer support teams if either customer asks for traceability records for their order.
Queue placement for your next review of this form
You do not file this cert in the completed job packet for your current run, even if you have already finished processing all required parts for the job. Instead, you unclip the cert from your current work order, clip it to the front of the work order for the job name printed on the cert itself, and place the whole combined packet in the priority review slot by the Traveler Desk, so the admin team can triage the correction before the other job moves to the production floor. You add a neon pink sticky note to the front of the packet noting the date and shift you found the mismatch, the number of parts you processed from the bar before noticing the error, and the desk extension for the QC lead on duty if the next reviewer has questions about your markings or the steps you already took to cross-check the data. When you open this form again at the start of your next scheduled shift, you first check for a stamped dated note from the admin team confirming the cert has been re-allocated to the correct job, or a typed note from QC asking you to run additional spot checks on the parts you processed for your original job. If the admin team has signed off on the correction, you can move the cert to the correct job’s completed processing packet for final filing in the main records room, and you update your own shift log to note that the mismatch was resolved without rework. If you are asked to run additional tests to confirm the material you used is within spec for your original job, you pull the three leftover cut ends from the bar from your labeled scrap bin, run them through the portable benchtop hardness tester, and log the three test results in the blank lined space at the bottom of the cert before sending it back to QC for a second review. You never discard the cert even if you confirm the material was pulled in error, as it needs to stay linked to the original mill batch for full traceability for both the customer whose job it was originally assigned to, and the customer you were processing parts for when you found the mismatch. You also make a quick note on your personal bench checklist to double check the cert job name against your work order before you start cutting material for your next job, to catch similar filing errors earlier in the process before you put time into processing parts that may require rework. If the cert is still in the priority slot when you return for your next shift, you flag it with the on-duty admin to make sure it does not get pushed to the bottom of the queue and delay the other job’s production timeline.