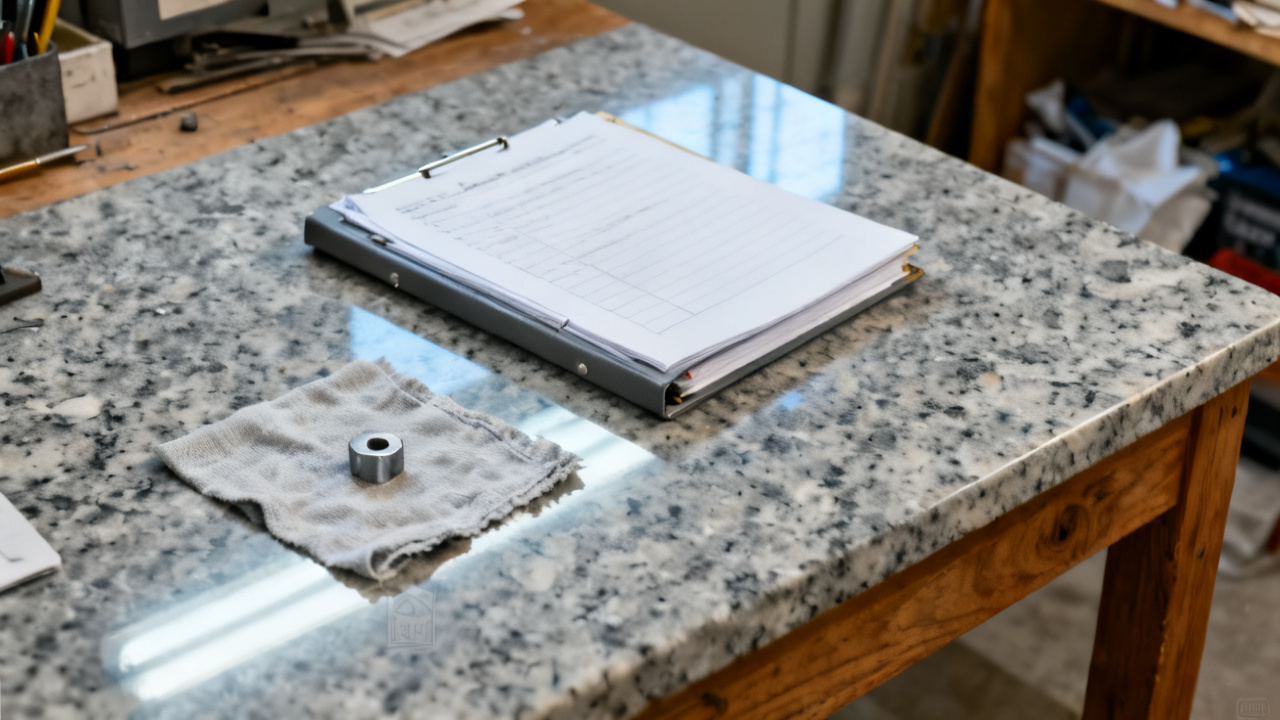
The edge has a burr. The check sheet has no line for it. You run your finger along the 6061 aluminum extrusion’s mill finish, the burr catching on the callus at the base of your index finger before you press a little harder to confirm it runs the full 12-inch length of the cut end. You glance at the clock above the bench, noting you have 17 minutes left in your shift before the night crew takes over this work cell.
This Traveler’s Implied Finish Requirement
This traveler lists every explicit dimensional check required for the first piece of this 24-unit batch: cut length tolerance of ±0.003 inches, 0.25 inch hole placement 2 inches from each end with a ±0.005 inch tolerance, 15-degree bend at the midpoint with a ±0.5 degree tolerance, and a maximum surface scratch depth of 0.001 inches across all visible faces. No line appears for secondary cut edge burrs, because the original job was drafted for a run that used pre-cut, pre-finished extrusions, and the in-house cutting step was added last minute when the pre-cut supply was delayed. You know the part installs as a sliding adjustment bracket in a recreational vehicle storage system, so even a tiny raised burr will catch on the mating aluminum track, cause binding during end use, and lead to rework at the assembly station if left unaddressed. You do not move the part to the bending step before addressing the burr, even though the printed check list gives you no explicit direction to inspect for this flaw. You also do not mark the part as nonconforming right away, because the flaw is minor and fully correctable in less than two minutes with the tools you have at your bench.
First Piece Burr Correction Steps You Log On This Document
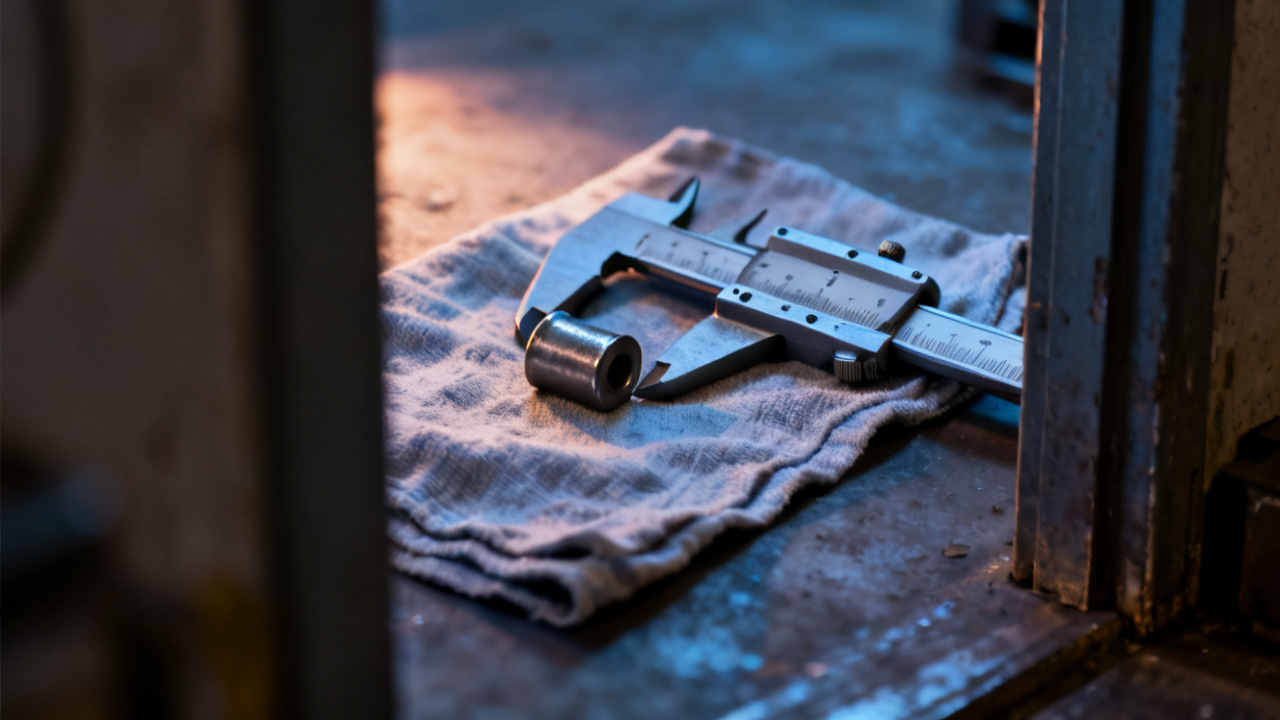
You follow a consistent, pre-approved process to correct and document the burr, so every person who interacts with this document later understands exactly what was found and how it was addressed:
- Use a 320-grit handheld flap sander to run along the cut edge at a 45-degree angle, applying consistent light pressure for three full passes to avoid beveling the edge beyond the allowed ±0.002 inch tolerance for edge profile.
- Wipe the edge clean with a lint-free microfiber cloth to remove all fine aluminum dust, then run your finger along the full length of the edge twice, first with the grain of the cut and then against it, to confirm no burr fragments or raised edges remain.
- Use a depth micrometer to measure the edge profile in four evenly spaced spots across the 12-inch length to confirm no material removal exceeds the allowed tolerance, and record each measurement on a scrap of paper at your bench to reference for your documentation note.
- Add a handwritten note in the blank margin at the top right of the document, noting the burr was found and corrected, along with today’s date, your employee ID, the average micrometer reading across the four measurement spots, and the type of tool you used for correction.
- Place a small blue dot sticker next to the cut length check line to flag the added deviation note for anyone reviewing the document later, so they do not miss the context you added to the unmarked check list.
Illustrative example: A measured burr height of 0.007 inches, which sits well below the 0.015 inch unstated industry standard for this sliding application, still requires full correction and documentation to prevent fit issues downstream. You follow this process per the informal guidance posted at the Traveler Desk earlier this month, which directs you to document all unlisted nonconformances even if they are corrected immediately, to support process updates for future runs.
Your Cert Cross-Reference For Unlisted Edge Imperfections
The material cert clipped to the back of this document lists the alloy grade, temper, mill batch number, and test results for the batch of extrusions you are using for this run, including a small line noting all supplied extrusions meet standard edge condition requirements for general fabrication use. That standard sets a maximum allowable post-cut burr height of 0.015 inches for parts intended for sliding or mating assemblies, which aligns with the internal threshold you use for this type of part. You add a line in your margin note that you cross-referenced this cert for the allowable burr threshold, so anyone reviewing the document later can pull the cert from the back to confirm the standard if they have questions about why you addressed the burr. You do not need to attach a copy of the cert to the front of the document, as the existing clip keeps all related materials linked for the full lifecycle of the batch. You also note in the margin that the burr was caused by a slightly dull cutting blade on the band saw you used for this cut, and you tag the blade for replacement at the end of your shift to reduce burr formation on the remaining 23 units in the batch, as well as for future runs of this and similar parts. This cross-reference and added context eliminates ambiguity for anyone reviewing the document later, so no one assumes burrs of any size are allowed just because they do not appear on the printed check list.
When You Access This Same Production Sheet For Subsequent Batches
When you pull this exact sheet for the next run of this part in three weeks, you first scan the top right margin to locate your handwritten note from this run, to remind yourself to inspect the cut edges for burrs before moving to the bending step for any unit in the batch. You add a temporary check box for burr inspection in the margin next to the cut length line before you start the first piece of the new run, to make sure you do not miss the step on any units, and to flag for any other operators working on the same run that the step is required even though it is not printed on the base document. After you finish the first run of that new batch, you bring the document to the production engineering team to show them the note you added, so they can update the official check list to include a permanent line for burr inspection and maximum allowable burr height for all future runs of this part, eliminating the unlisted requirement entirely. You also reference your note about the dull band saw blade to confirm you check the blade condition at the start of that future run, to make sure it is sharp enough to produce clean, burr-free cuts and reduce the need for secondary finishing work. This follow-up ensures that no operator after you has to guess about edge requirements for this part, and reduces the risk of uncorrected burrs making it to downstream assembly steps, which would cause costly rework delays for the whole production line. You also use the note as a reference for other similar sliding bracket parts you run, adding temporary burr check lines to those documents as well until the engineering team can update all related check lists.